Interval 02 - Isolation - Awakening is the second mission in F.E.A.R. 2: Project Origin. After witnessing the explosion of the Origin Facility in Genevieve Aristide's condo, Michael Becket, Keira Stokes, Redd Jankowski, Cedric Griffin and James Fox are sent to the secret Harbinger Facility where they are surgically enhanced. Becket awakens to find that he now has enhanced reflexes, as well as having had his psychic signature modified to attract the attention of Alma Wade. The Interval consists of Becket fighting his way through the Harbinger Facility, being systematically stalked by Alma.
Walkthrough[]
- This article is about a walkthrough from F.E.A.R. 2: Project Origin, and is therefore written like a guide.
Intel: 11
Reflex Injectors: 1
New Weapon(s): SHO Series-3 Combat Shotgun
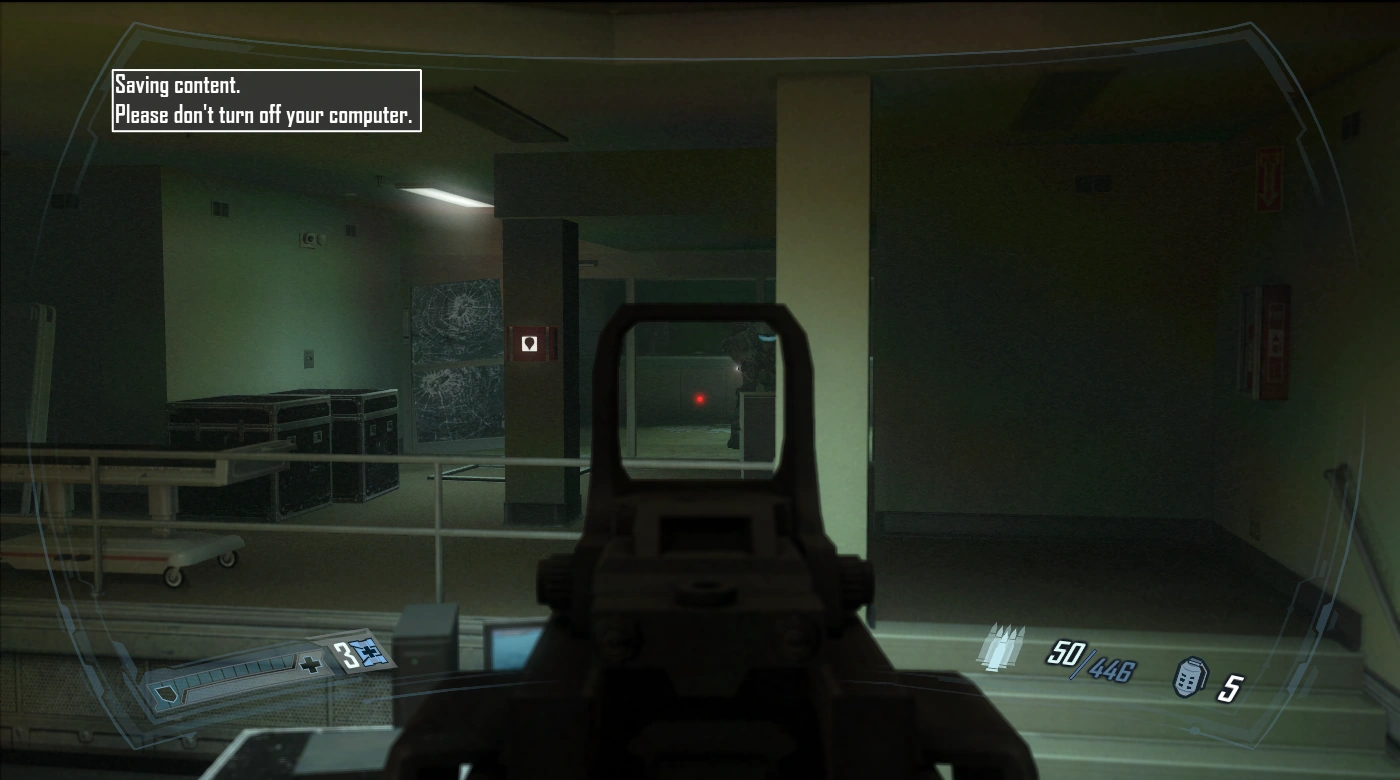
Becket's visor
Find yourself a weapon[]
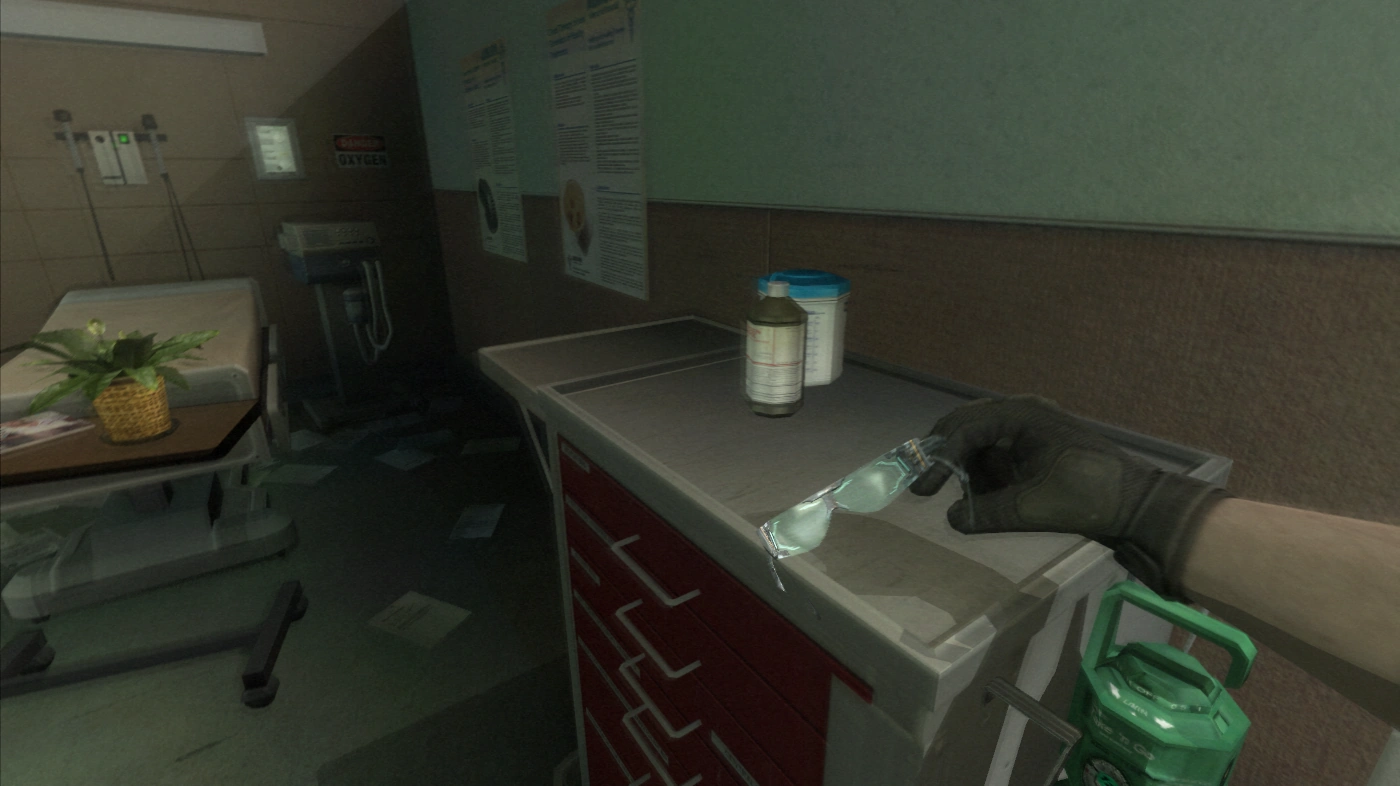
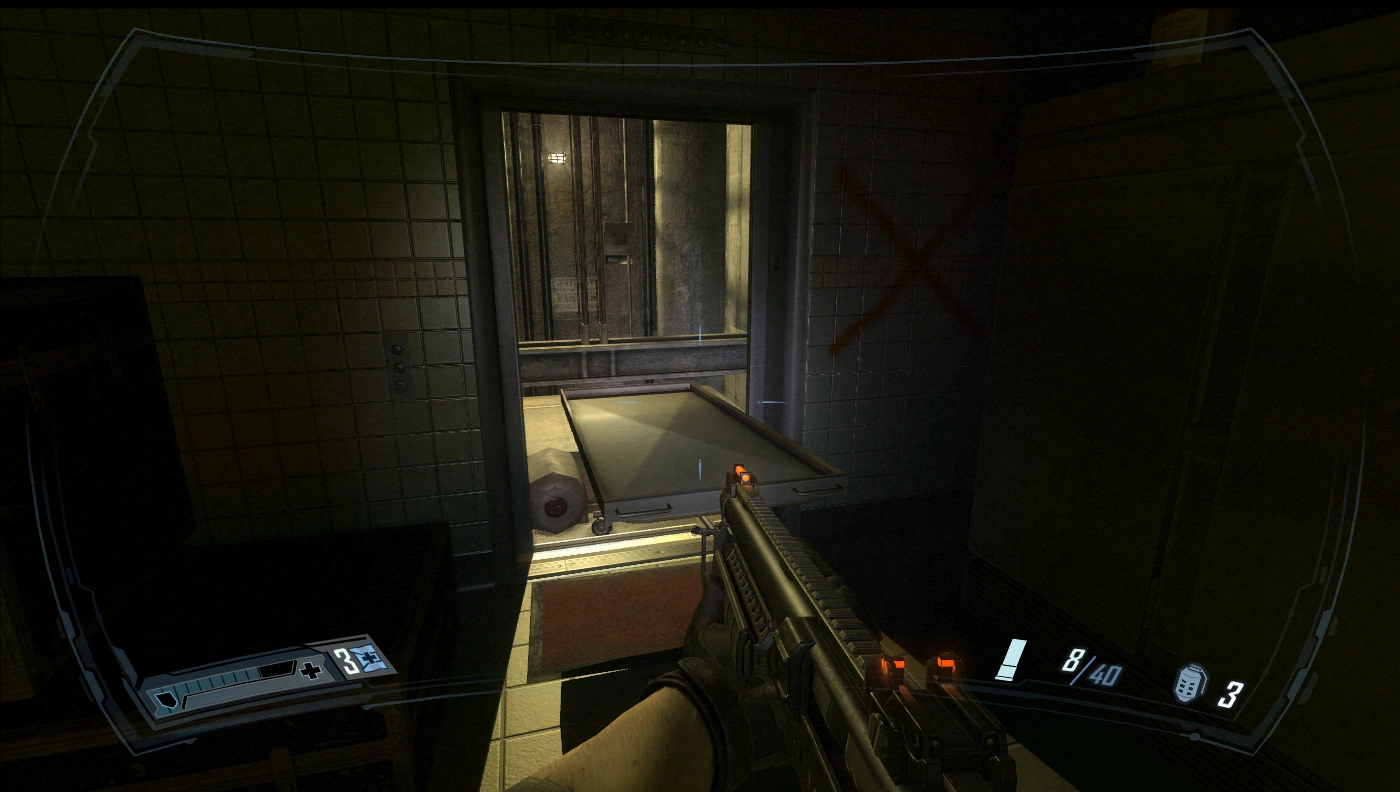
After some pretty gruesome surgeries, you finally wake up at the Recovery room 102, where you are getting your visor to work again. However, you are not armed, which is a problem. There is a new ability given to you: Slow-Mo. This will be your great friend until the end of the game, you may wonder why the meter is so low, don't worry, we will get the injector to extend the usage time. You cannot use the Slow-mo yet, but we don't need that either In the Recovery room 102, the 9th piece of intel "Memo: M. Becket" under "Hospital" (M2I1) can be found in a folder holder on the wall across from you by the door you need to exit.
The route is pretty straight-forward, but you can explore and get Medkits along the way. In the Recovery room 104, you will find the 10th piece of intel "Info: 1SG Griffin" under "Project Harbinger" (M2I2). After you see the area with TV broadcasting about the explosion, go to the double door, after see a falling ceiling, go to Recovery room 106, go to the bathroom to your left and go through this room to get into Recovery room 105, here you will find the 11th piece of intel "Info: SGT Jankowski" under "Project Harbinger" (M2I3). The big lobby area may get some players stuck for a while, not through the small room but to go through the double door and head upstairs. In the small bloodied room has the 12th piece of intel "Surgical Notes" under "Hospital" (M2I4). Upstairs in the office with a hospital staff being killed, the 13th piece of intel “Check the news” under “Hospital” (M2I5) is on the computer desk. There will be supernatural events all along the way, but no big deal, you are pretty safe until you find the weapons.
Later on you will find a hospital staff being executed by the an ATC Black Ops Lieutenant, he will report to Col. Vanek about your presence. Ignore him and keep on. Follow the blood trail into the maintenance corridor, you can see a Medkit on the other side but you cannot reach it yet, get to the lab area to meet with Genevieve Aristide. She will instruct you to the T.A.C. (Telesthetic Attunement Chamber) Lab. Go to the door with exit sign and back to the Maintenance area, here you can pick up the Medkit. In the next room, the 14th piece of intel “Urgent Warning” under “Armacham” (M2I6) is right in front of you. There is an ATC Black Ops Pyro setting things on fire, don't worry about him, we will deal with him later.
Finally you will reach a room with an Armor vest, Medical Injectors and some weapons, switch your flashlight off, use Slow-Mo, then the two ATC Black Ops Soldiers and one more ATC Black Ops Hazmats are easy pickings. An unknown character, calling himself "Snake Fist," will make contact with you again. From now on, Slow-Mo can be activated/deactivated as you wish.
To the elevator[]
You will have a massive firefight in the next area, there are at least seven soldiers, with three hazmat soldiers guarding. There is lots of cover but the enemies can shoot you from any angle. Use Slow-Mo as much as you can, and always expect more, as reinforcements will arrive from the opposite side where you enter. In the lab area, there are some health supplies and grenades.
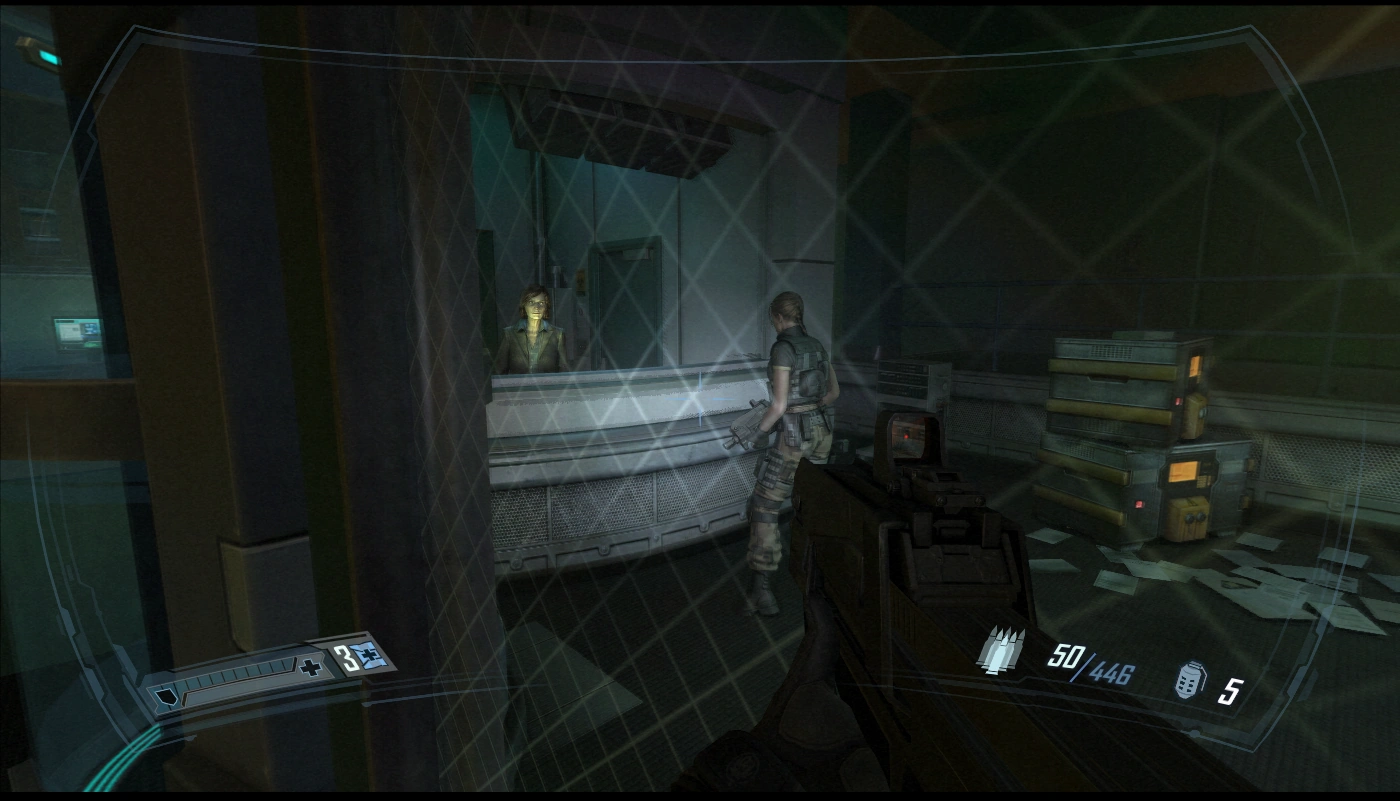
Keep moving and you will see three soldiers and one hazmat trying to make a hospital staff member open the door, even with flashlight off, they will notice you shortly, so deliver the first strike to make sure you take them by surprise. Cook a grenade and throw it down to kill two or three of them, then kill the rest from up on the balcony while you have the height advantage, then jump down when they are all dead. Down here, there are two grenades, an Armor vest and SMG ammo. If you go to the booth, the staff will just tell you to go away, leave her alone and call the elevator.
More enemies will appear behind you, they will come from above. A good strategy is going under the place they jump down, then you can kill them one-by-one. After they are done, go to the woman's bathroom where the bloody footprints lead to, in the third room you will find the 15th piece of intel “Info: 1LT Stokes” under “Project Harbinger” (M2I7).
Then, use the elevator. The soldiers above will cut the power later, but you can escape the elevator via a small air duct. Don't hesitate, because the elevator will fall in a few seconds. Leave the maintenance area, and be prepared to take out four soldiers and three hazmat soldiers that think they have took you out.
Fighting through the Patient Wards[]
The first Reflex Injector is in this room.
Next, you will see a green injector inside the room that requires keycard to open, remember this area and move on. You will see the locked door that requires a keycard to open, the keycard is in the Patient room 207, not in the room with a FD-99 Submachine gun. Return to where you saw the injector and use the keycard to unlock the door, bingo! You find your first Reflex injector, this one may be missed easily because its not on the main path.

The keycard is in this room.
After you see Alma appear again, use the keycard and keep on. Follow the bloody bootprints until you will find a ATC Black Ops Heavy Soldier executing another hospital staff, its impossible to save him, and you have to be careful because his shotgun can potentially kill you in one hit, so use Slow-Mo and kill him quickly.
This cover is pretty well if you have trouble peeking out.
This room has five soldiers, three hazmat soldiers and three more shotgun carrying heavy soldiers. There is a Armor vest before you enter that area so pull back if you think you take too much fire, use the crates, and wall as cover. There will be more reinforcements, so don't rush into this cafeteria after you clear it. The next corridor will have more heavy soldier waiting for you.
Getting to the T.A.C. Lab[]

Get in the shaft and kick the cart out.
After some brief conversations with 1st Sgt. Griffin and Lt. Stokes, you will enter the morgue, but before that let get the 16th piece of intel “Diode Implants” under “Hospital” (M2I8) on a computer desk. Alma will play some mind tricks on you in the morgue, ignore these and head for the room with a lot of body storages, a cart will block the elevator door that it cannot close the doors, get inside the elevator shaft and kick the cart out. Open the elevator door by yourself and you will reach the third floor. Enter the offices, go the Office 201 and find the 17th piece of intel "Admitting patients" under "Hospital" (M2I9). Prepare to take out some patrolling soldiers and hazmat soldiers. Be careful, one of them will try to surprise you by hiding inside one of the office rooms.
Next, you will step into another hot zone, immediately out of the office, there six soldiers and hazmat soldiers. You can either aggressively seek cover or pull back, and let them come one-by-one. Both ways won't work without Slow-Mo, forget about using the shotgun here, the enemies here have a lot of cover and they are fast on the trigger. They are mostly out of the shotgun's reach, too.
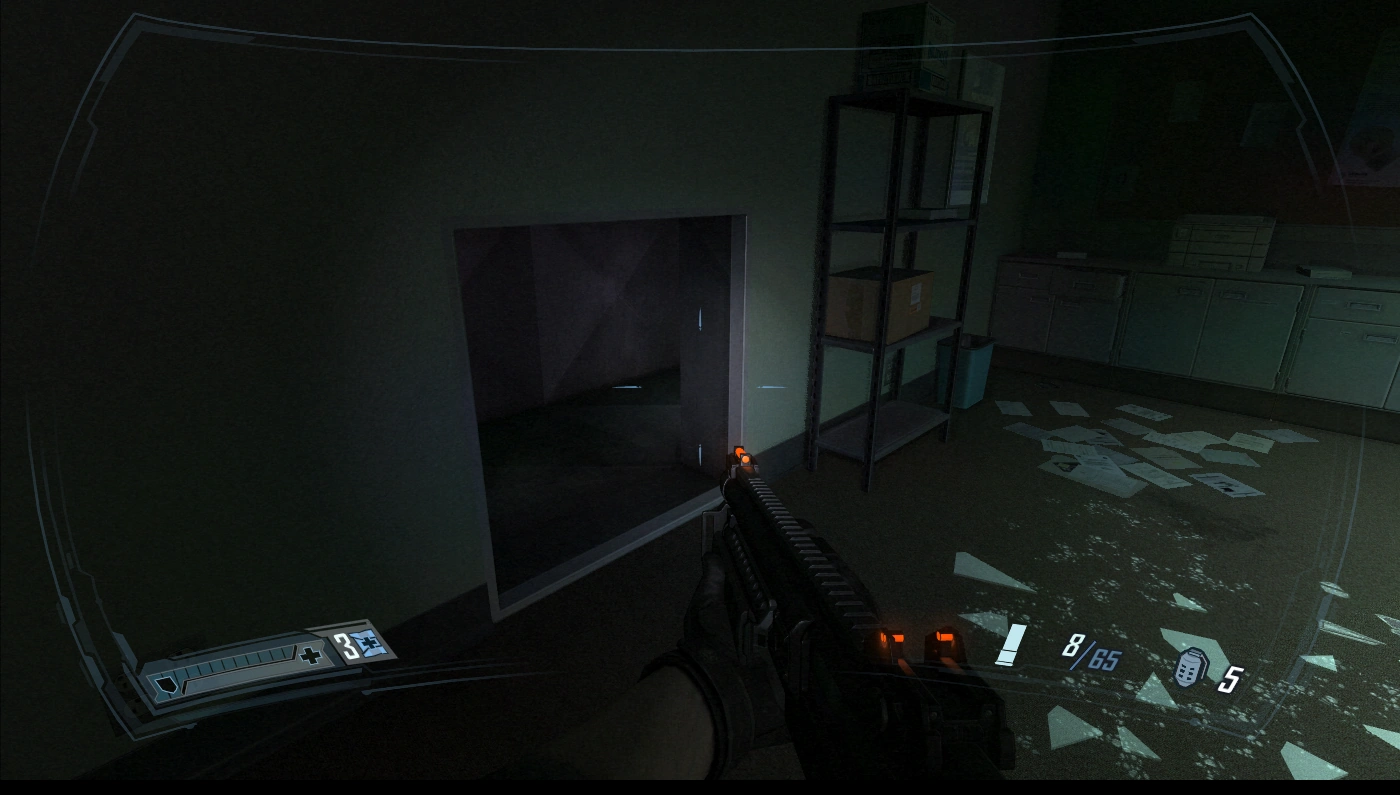
Sgt. Fox will contact the squad and report that he sees a woman that needs help, that's not your problem, at least not yet. Use the keycard to open the next door, you will see a small lobby with supplies, get behind the counter and enter the vent, you will find the 18th piece of intel “Evaluation report” under “Project Origin” (M2I10).
This vent will lead you to the M2I10.
You are close to T.A.C. Lab, leave the supplies alone, you will need them later. Go into the chamber to activate a cutscene.

Inside the T.A.C. Lab.
Find your way out[]
Watch for Heavy Soldier here.
After some ATC guys shoot the controls and release you from that unpleasant chamber, immediately seek cover because you are already surrounded by the enemies. The most dangerous thing is that they have at least 2 heavy soldiers, 3 more soldiers closing in fast, as I said before, their shotgun is really deadly, especially at close ranges, so don't think about melee. You can, however, use your own shotgun and Slow-Mo to counter them. This area is your best opportunity to get "Deadly Ballet" achievement, it requires you to get 4 kills in one Slow-Mo use. Use the shotgun to kill more soldiers, heavy soldiers and hazmats as they keep charging to your location. You have two choices here, either charge at them with Slow-Mo and the shotgun, or hide, and have your pistol and/r submachine gun ready, they will come to you if you stay put, thus this allows you to dispatch them at a safer distance. Don't forget to find cover, and use grenades to kill any campers. Pick up any supplies here, because we are not done yet.
Next area will have some enemies that you need to take out. There are two soldiers and one more heavy soldier. Notice the newly opened door to your front? Get in and go downstairs, in front of you on the railing will be the 19th piece of intel “T.A.C. overview” under “Hospital” (M2I11), now you should get the "Paparazzi" achievement for collecting 25% of the intel. Drop down to the ground floor, mission complete.