Interval 03 - Recognition - Withdrawal is fourth mission in F.E.A.R. 2. Michael Becket has escaped from the Hospital facade and makes his way to the outer shell while continuing to fight off more Armacham Troopers, trying to make it out before the whole facility explodes.
Walkthrough[]
- This article is about a walkthrough from F.E.A.R. 2: Project Origin, and is therefore written like a guide.
Intel: 5
New Weapon(s): Patten PK470 Assault Rifle
Sgt. James Fox[]
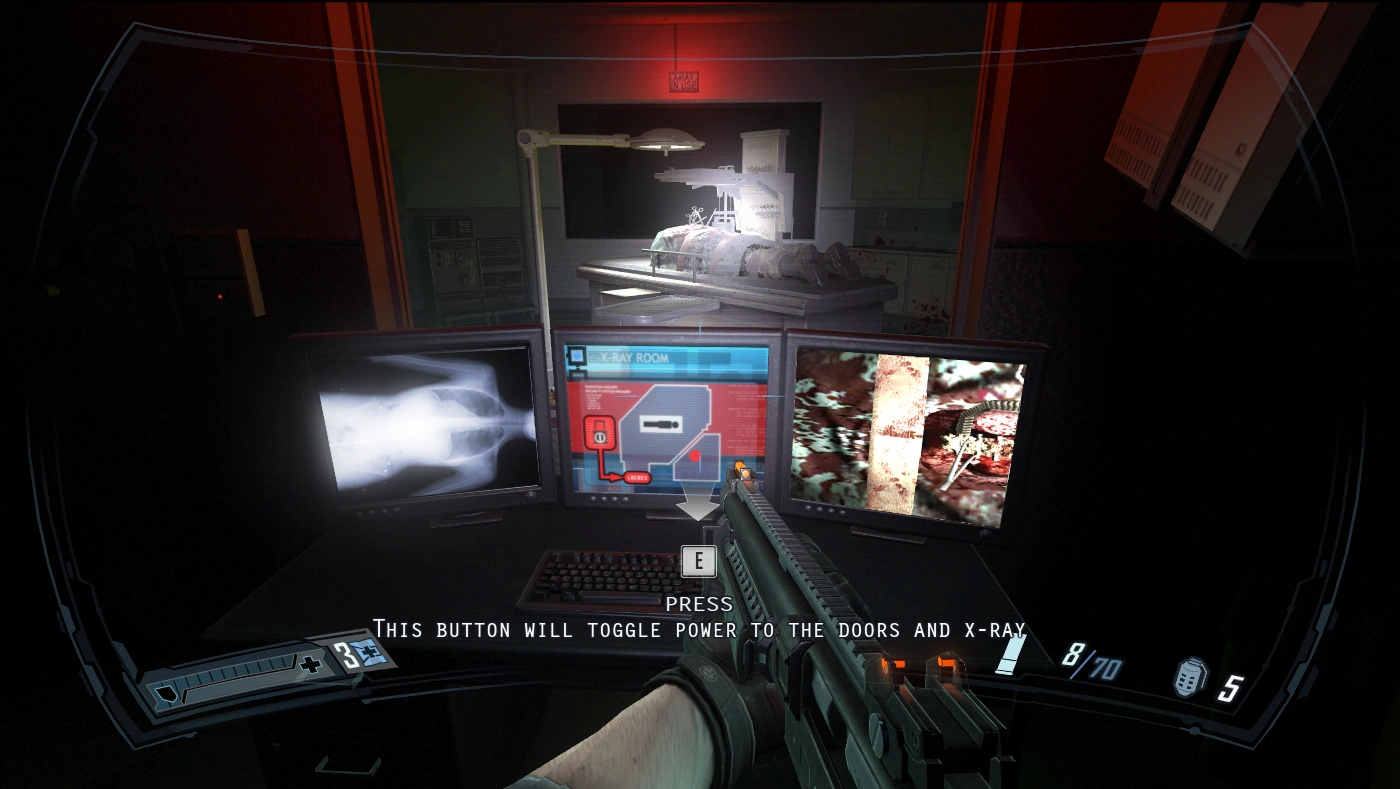
Now you have entered the Radiology section of the hospital, you can hear Sgt. Fox's radio transmissions and have a little exploration. The 24th piece of intel "Info: SGT Fox” under “Project Harbinger” (M4I1) is directly in front of you, through the double sliding doors, behind the dead man, on the counter. The terminal in each X-ray control room will divert power to the door or the X-ray machine itself.
The terminal you have to operate.
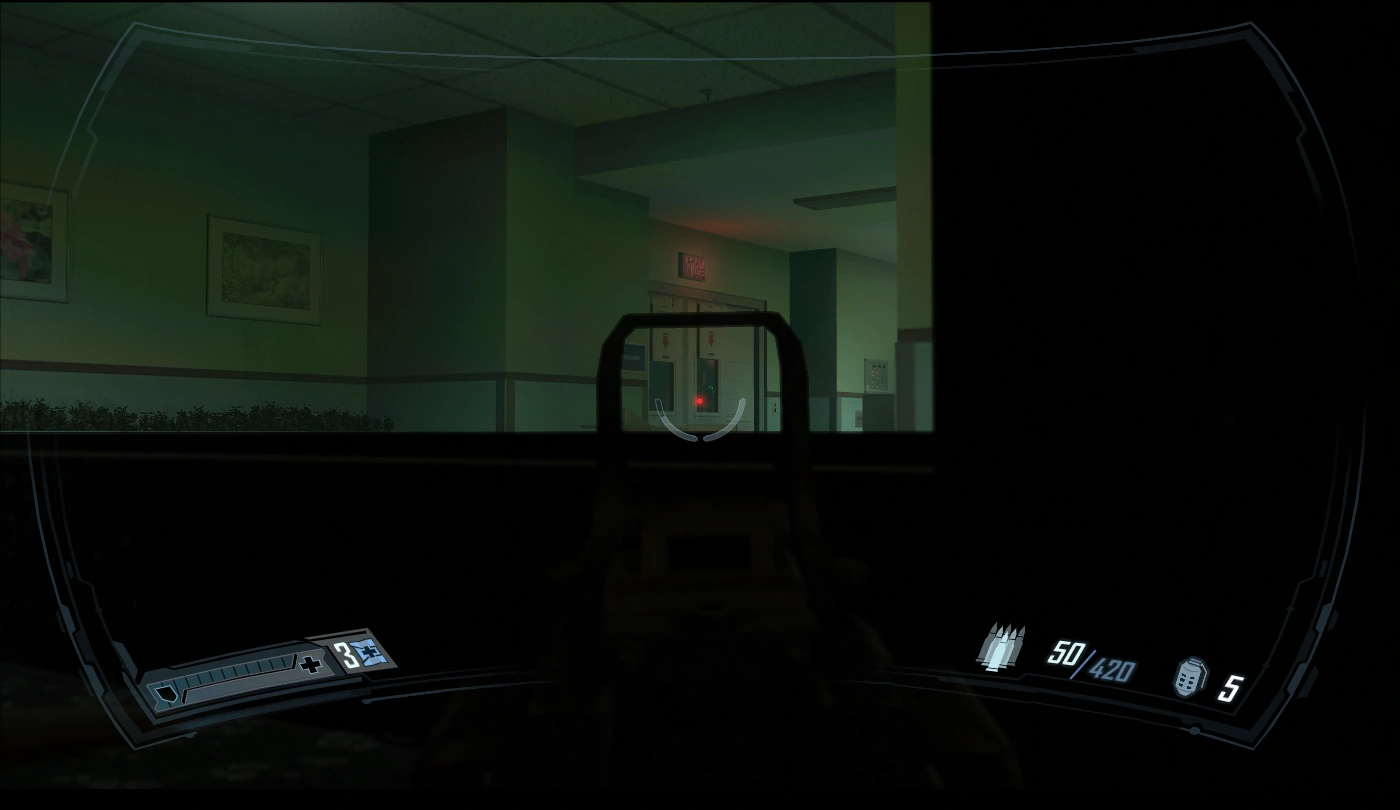
You will face the lock door that need to be unlocked this way. Shortly after this, you will "link up" with Sgt. Fox, and just as he regains control of himself, Alma will come in and the cutscene will play.

Sgt. Fox shortly before being killed.
Follow the blood trail to the another X-ray room, there is a Med kit if you search the area. And the 25th piece of intel “Info: SGT Morales” under “Project Harbinger” (M4I2) is in one of the X-ray room with a corpse in it. You don't have to do anything with the machine, just head to the next corridor, an Abomination will jump to the door and surprise you, shoot the flammable barrel behind it as your reply. FYI, if you kill 10 enemies using environmental hazard like this, you will get the "Bank Shot" achievement/trophy. Keep going until you hear someone begging for his life, you cannot save him so keep yourself hidden, you are about to enter a hot zone, so some element of surprise is not bad. Head for the office nearby to provide you better view and cover. Also in this room, enemies will have trouble throwing grenades at you, and in order for them to reach you, they will need to go through the auto door, so keep an eye for that spot. There are total of five soldiers and five hazmat soldiers here. Use cover and Slow-Mo so that they are not big problems. Don't forget about there is an Armor Vest before you meet them.
This spot is excellent if you wish to play safe.
Little freaks again[]
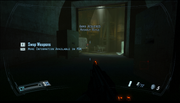
Later on you will enter the air-lock like area, you cannot go back so I suggest you pick up anything you need before going here. Right after the door opens you will see another abomination running away from you. No worries, despite the atmosphere here, only two Abominations will show up and attack you, so get your shotgun ready. The 26th piece of intel “Harbinger Failures” under “Project Harbinger” (M4I3) can be found near a dead person. There is a Medkit hidden in this area, its on the left corner while you need to turn right. While you see a corridor with a cargo elevator, DO NOT go there, instead go left, into the surveillance room with the third Reflex Injector. Now head to the corridor and call the elevator ASAP because this area is about to get blown up. Get in immediately after the door opens, ascend or get caught in the flames.
Run, Becket, run![]
Welcome to the Interval 03, this Interval starts now. This is the Outer Shell, like the Clone Facility in the non-cannon F.E.A.R. Perseus Mandate, this facility is built for Harbinger Project that also has something to do with the Replica Forces, your old enemy in the first F.E.A.R. games. Combat will begin right after the elevator stops. There are two soldiers and two ATC Black Ops Heavy Soldiers. Its quite dangerous because your cover here is not very reliable, and enemies will toss grenades to keep you moving. You can Slow-Mo and attack them head-on but its rather risky, remember, enemies with shotguns can potentially kill you in one hit.


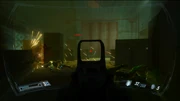
At the catwalk, get ready to run.
After that's over, search the area for armor vests, Medkits, grenades and ammo. Unfortunately, the enemy has rolled the metal door to keep you from going there. You have to keep on the hard way. Head down the ladder and enter the maintenance area as shortcut. Get to the catwalk and the hard part begins: The enemy has demolished the area, and the ruptured gas pipe will blow up everywhere, your goal is to get to the end of the catwalk in one piece. Run past the catwalk because the fire will break out, if you are too slow, you can either burn to death or killed from the explosion. On Hard, your armor and health will drain more quickly, so pass that area as fast as you can.
Hammered from multiple directions[]
Now you should reach the tunnel, where lots of ATC guys will attempt to get the big fat bonus from Col. Vanek (i.e., putting you down), let's reject his offer by killing anyone that tries to kill you. First, you will face three soldiers and two Black Ops Hazmats. Be careful for the Heavy Soldier that appears right in front of you, if you need armor, there is a door blocked by explosive barrel, blow it up and an Armor vest is behind it. Alternatively, go to a dark path where you first enter the area, you will go to the same room. Because in most cases, you are already hurt due to the last part, the enemies can gun you down with ease, aggressive gameplay is not recommended here, even with Slow-Mo. The 27th piece of intel “Schedule Change” under “Armacham” (M4I4) is at the right side of this room. Next, few more ATC Black Ops Soldiers will be waiting for you. After dealing with them, go to the catwalk and get more Armor if required.
You see some Armacham APCs driving away, and also there are some soldiers following them. It is suggested that you leave them alone. Sure, attacking them can get you an early assault rifle, but you can take the enemies next area by surprise if you leave them alone, also, you lack cover in this part. The heavy door is malfunctioned and you must use Slow-Mo to pass. Timing it properly can also get you past without having to use Slow-Mo.
In the next room, you will fight a soldier and five more Heavy Soldiers, three of them carry assault rifles, you can use up your pistol here, because it will be replaced shortly. You can fire through the fence but be careful that the enemies will do the same thing. Here, grab supplies and the assault rifle, it will be your great friend for a large portion of the game, its recommended you trade the pistol for the assault rifle here, the pistol still has some uses, but you don't want to be outgunned by more powerful enemies later on. There are two ways to get over the fence, get to the manual override in the room with SMG, or climb the ladder and use the catwalk over the fence.

ATC Pyro is in the APC.
After passing a narrow pathway, you will faced a parked enemy APC, be ready, load your guns and heal up. because the combat will be very intense later. Immediately after you approached the APC, an ATC Black Ops Pyro will show up. Remember the shotgun & Slow-Mo trick, if you run out of the Slow-Mo, get back to the crate and keep firing using SMG, you don't need to use assault rifle here, because the majority of the enemies will still use SMG against you. After you deal with the Napalm cannon dude, there are a shit load of enemies coming, watch the catwalk in front of you first, there are six or more Hazmats rushing toward your location, if you are careless here, you will be hammered from multiple directions. To make the matter worse, if you are too quick, you will trigger another group of enemies, then you will struggle to deal with them one-by-one. So be slow and cautious here.
After you take care all the Hazmats on the catwalk, move on and there will be three soldiers and three Heavy Soldiers. Due to the nature of the stand-off, enemies here are more likely to toss grenades at you. After you clean them up, climb up and three more Hazmats will arrive, one of them will roll the medal door to make you go the hard way again. Before dropping in from the hole near the gate, collect everything you need, this area has four Armor vests, so don't hesitate, get them. Sliding down the ladder and you will enter another tunnel, convenient huh? You will enter the cargo area where you meet Col. Vanek again. Be prepared, because the next combat is quite tricky, get back to the area where you see the Armor vest and find a good cover. There will be eight Soldiers rushing to your location while Col. Vanek delivers some speeches to you, there are several ways to survive this part, you can either go out and fight aggressively, in which most cases you survive with very low health, or stay put and let them come one-by-one, you may not have time to reload, simply switch to other guns you have, any weapon can be used as long as you are in a good position.

Here, a large number of enemies will rush at you.
Take note that the enemies may decide to toss grenade at you. In this case, go to other cover with Slow-mMo. If you are not paying attention here, you will be hammered from multiple directions once again, because the enemies may decide to flank you if you get too cocky and play aggressively. The 28th piece of intel “Info: P. Fettel” under “Project Origin” (M4I5) is this area, after the “fuckery” comment by Col. Vanek, in big room with a lot of boxes where the soldiers appear, in the middle there is a shelf with the Intel and supplies.
Withdrawal[]
Keep heading down to the next area, you have to deal with two Soldiers and there will be one more in the gas pipe room, killing him results an explosion. Now, time to find a way to turn off the gas. There are still lots of foes here, two Soldiers, one Hazmat and three Heavy Soldiers. Use the environmental hazards to your advantage, blow the electrical box or flammable barrels up while the enemy is nearby. The room to your right has two Armor vests and some supplies. Get them before you turn the gas valve. After the fire is out, there will be seven Soldiers appearing in front of you at the far side, three more Heavy Soldiers will appear from above.
After turing on the gas valve, be prepared for enemy rush.
Finally, you climb the ladder and stuff gets nasty in the next area, gas pipes will be blown up and you have to pass them quickly to take minimal damage or if you are too slow, crouch and find the gap to go through that you won't get hurt. Head for the catwalk with the ladder and the cutscene will take over, mission complete.